| Comic Book Paintings |
Glen Holland |
| CONCEPT |
FIRSTLINE (in progress) | PAINTING PROCESS |
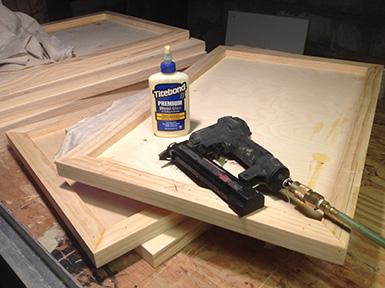
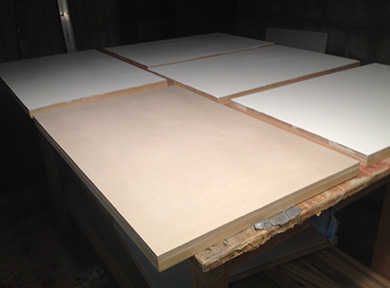
| Once the concept for the series is formed, and the story is worked out
in a first thumbnail draft, and rewritten/redrawn in a second draft that
lays out the pages more specifically, the panels, in this case 18, can
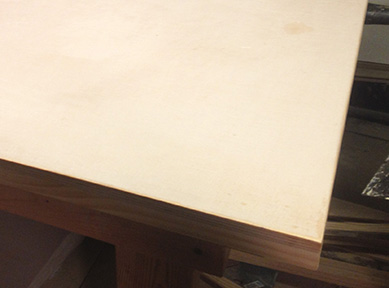
be built. For this series I will use 1/2 in. baltic birch plywood with
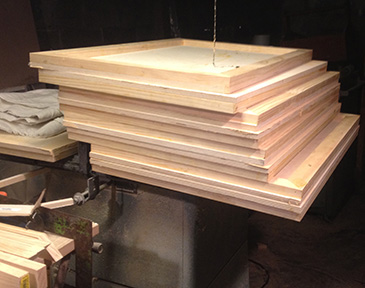
clear pine 1x2 in. braces. The plywood panels and pine braces are cut
and glued and brad nailed together. When dry, the plywood panels are
trimmed with a router and the edges and top are sanded. Any nail holes
or imperfections on the top surface are filled with wood filler and
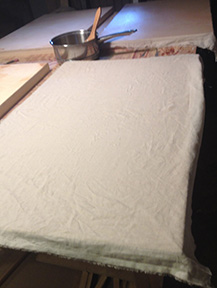
sanded. All dust is removed and the fabric, handkerchief linen is cut a
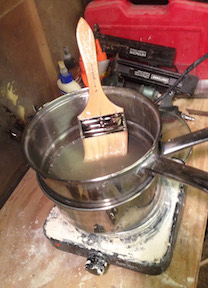
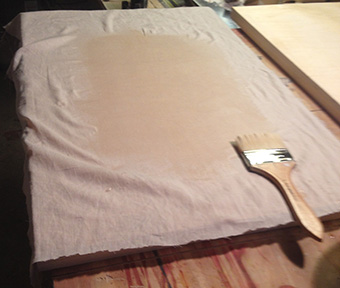
couple inches larger than the panels top dimensions. Then warm rabbit skin glue is applied to the working surface of the panel and the fabric is laid out and spread out from the center on the damp glue surface and wrinkles worked out from center to the edges. Immediately a coat of glue, kept warm, is applied to the fabric, again from the center, working vigorously with a good bristle brush, out toward the edges, pushing the wrinkles out and pulling from the outside edges when necessary to aid in this process. All air bubbles should be pushed out during this process. |
 |
 |
 |
 |
 |
 |
 |
 |
 |
 |
 |
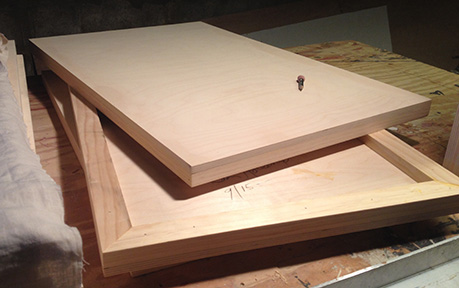
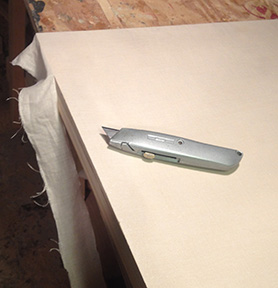
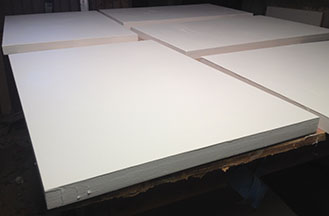
The fabric will stretch smooth and bond to the wood panel. When dry the
edges are trimmed with a sharp knife. A Very fine sandpaper can be used
to gently remove any surface imperfections(brush hairs, or fabric bumps)
left on the top, and to prep the surface for the final coat of warm
rabbit skin glue size that should be applied thinly and evenly with the same
bristle brush. The panels are left to dry and are then ready for the next stage (adventure), gesso. |
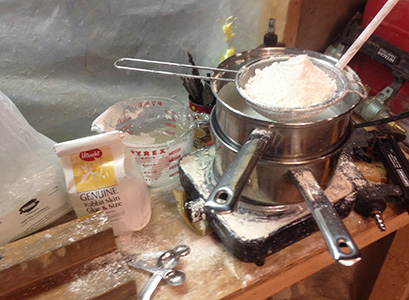 |
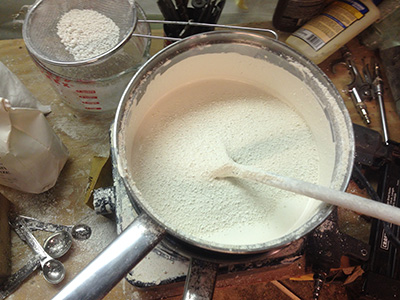
Gesso: 1/3 liquid rabbitskin glue size 1/3 French chalk (fine calcium carbonate) 1/3 titanium white pigment (finely ground) Combine one part of the glue size with one part french chalk and one part titanium white. Mix the two finely ground powders, then sift the solids slowly into the warmed glue size and stir gently as you go to avoid creating air bubbles, continue sifting and stirring until thoroughly blended. This takes quite a while. Be patient here or bubbles will develop and holes will transfer to the ground. |
 |
 |
 |
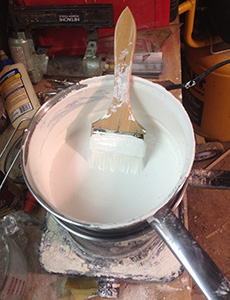
Apply gesso to panels with good
stiff hogshair gesso brush. Scrub the first layer in vigorously. Keep
the gesso warm, not hot. Once dry to the touch the subsequent layer can
be
brushed on in one direction rather thinly. Brush the next layer on in
the alternate direction and so on. Several coats will be required. |
 |
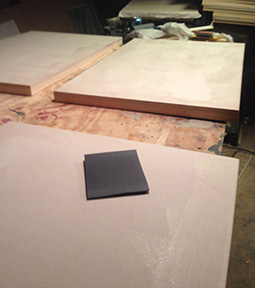
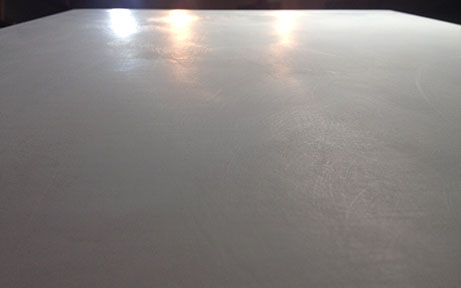
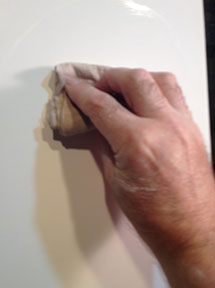
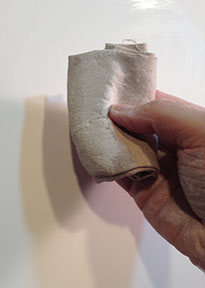
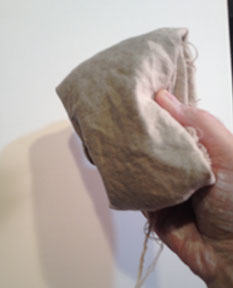
After many coats of gesso are
applied sand the brush strokes down until the surface is flat, and
smooth further with damp linen cloth and polish off with dry linen
cloth. Surface will be hard, smooth, soft, and absorbant. That's right.
Practice hundreds of times and you begin to get a feel for it. |
 |
 |
 |
 |
The Craftsman's Handbook: "Il Libro dell' Arte" -Cennino d'Andrea Cennini
The Materials of the Artist and Their Use in Painting-Max Doerner
The Artist's Handbook of Materials and Techniques-Ralph Mayer
A Manual of Painting Materials and Techniques -Mark David Gottsegen
Formulas for Painters -Robert Massey
| Index | Comic Book Paintings | Still Life Paintings | News |